by Blue Dragon Racing
If PSI is the foundation of grip, then Camber is how that grip meets the track.
Before you even think about toe or caster, camber decides where and how your tire touches the road — and that, in sim racing and real GT3, means everything.
🧭 What Is Camber
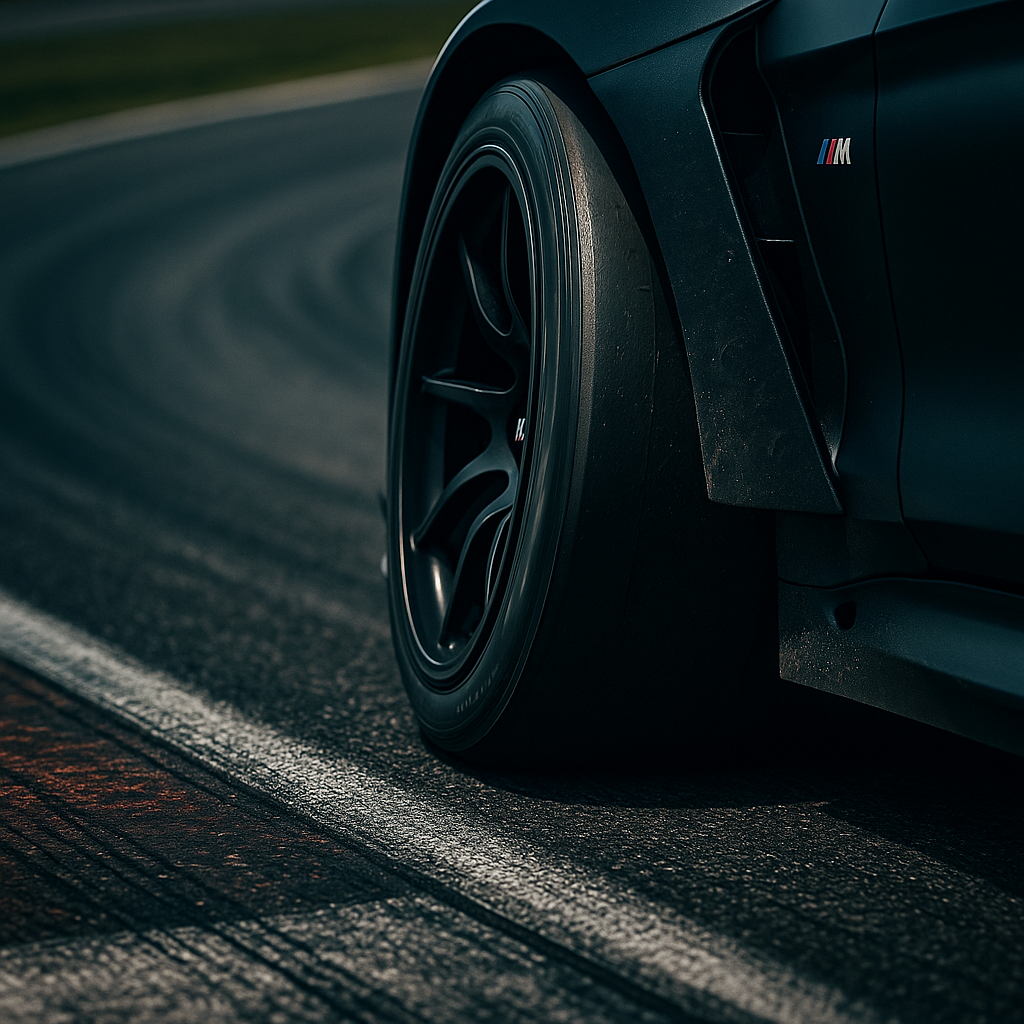
Camber is the tilt of your wheels relative to vertical when viewed from the front or rear.
- Negative camber – the top of the tire leans inward.
- Positive camber – the top of the tire leans outward (rarely used in racing).
In GT3 cars, we always run negative camber, because when the car rolls in a corner, the outside tires stay flat on the asphalt — giving you maximum grip when you need it most.
💡 Think of it like this:
When the car leans, camber keeps the tire’s contact patch alive.
⚙️ How Camber Works
Camber balances grip vs stability.
It changes the size and shape of the contact patch — the little rectangle of rubber that decides whether you fly through a corner or slide off it.
| Camber | Contact on Straight | Contact in Corner | Behavior |
|---|---|---|---|
| –2.5° | Full | Outer edge only | Stable, understeery |
| –3.2° | Balanced | Full patch in corner | Ideal GT3 balance |
| –4.0° | Inner edge only | Maximum lateral grip | Sharp, unstable straight line |
🧠 Why Camber Comes Before Toe
Camber changes how the tire sits on the ground —
so if you adjust toe first, you’ll be aligning tires that aren’t even “flat” yet.
That’s why setup engineers always say:
“Set pressures, then camber, then toe.”
Toe fine-tunes how the tire moves.
Camber decides how it works.
🌡️ How to Read and Adjust Camber by Temperature
Camber isn’t about guessing angles — it’s about reading signs.
Even without knowing the perfect numbers, your tires will tell you everything if you know where to look.
Once your PSI is correct, the next indicator is always temperature distribution.
Every corner, every exit, leaves a pattern — and that pattern reveals your camber balance.
💡 If the car feels lazy in some corners, check your tire temps — that’s where the truth hides.
| Feeling on Track | Likely Temp Pattern | What It Means | Fix |
|---|---|---|---|
| Understeer mid-corner | Outer hotter than inside | Too little camber | Add –0.2° to front |
| Nervous under braking | Inside too hot | Too much camber | Reduce –0.2° front |
| Sluggish exit | Rear outer hot | Too little rear camber | Add –0.1° rear |
| Unstable exit | Rear inside hot | Too much rear camber | Reduce –0.1° rear |
💬 Example:
At Red Bull Ring, if you feel the car “push” through T3 and the outer front tire runs 7°C hotter than the inner, add –0.2° front.
You’ll immediately feel the car bite harder and steer into the corner more naturally.
First, fix pressure.
Then, read temperature.
And only then, adjust camber — corner by corner, until the car stops fighting you.
🏎️ Real Examples – Slow vs Fast Corners
Camber doesn’t act the same everywhere — it’s dynamic.
Every track, every corner, and even your driving style decides how much camber really helps.
🟢 Slow Corners – You Need More Camber
At slow speeds, mechanical grip rules.
The car rolls more, weight transfer is heavier, and the outside tire needs help holding the line.
Examples:
- Red Bull Ring – Turn 3 (Remus)
- Imola – Variante Alta exit
- Zandvoort – Hairpin
🧭 Setup logic:
Front –3.7° to –3.9°, Rear –3.0° to –3.2°
Sharper rotation, less stability on straights.
🔵 Fast Corners – You Need Less Camber
At high speeds, downforce keeps the car flat.
Too much camber means less contact and instability.
Examples:
- Spa – Eau Rouge / Raidillon
- Silverstone – Copse / Maggots
- Monza – Parabolica
🧭 Setup logic:
Front –3.3° to –3.5°, Rear –2.7° to –3.0°
Higher stability, smoother aero balance.
🏁 Camber in Qualifying vs Race – The Logic Behind It
⚡ Qualifying Setup — Peak Grip, Short Life
You need rotation and front bite fast.
Run more negative camber — maximum grip, short lifespan.
Front –3.8° to –4.0°, Rear –3.0° to –3.2°
✅ Max grip for 2–3 laps
⚠️ Hotter inside edges, faster wear
🕒 Race Setup — Stability and Tire Life
Less negative camber keeps PSI and temps stable.
Front –3.3° to –3.5°, Rear –2.7° to –2.9°
✅ Even temps, consistent feel
⚠️ Slightly slower on turn-in
| Mode | Front | Rear | Behavior |
|---|---|---|---|
| Qualifying | –3.8° to –4.0° | –3.0° to –3.2° | Sharp, reactive |
| Race | –3.3° to –3.5° | –2.7° to –2.9° | Smooth, stable |
💡 More camber for glory laps — less for glory stints.
🧩 Camber Is No Magic Trick — It’s Always a Compromise
Camber isn’t a miracle setting — it’s geometry.
Every track is different, every corner unique.
You tune camber so that most of the lap is optimal, not every corner.
🔸 Banked Corners (like Nürburgring’s Carousel)
Track itself gives negative camber.
Run less — the surface already helps you.
🔹 Falling Corners (off-camber)
Even perfect camber can’t fix physics.
Too much lean = less grip, more understeer.
💬 Set camber for the majority, not the exception.
Every degree is a trade — more grip here, less there.
The secret is knowing where “there” matters less.
🧠 Track Shape and Camber Balance
Camber only works under load.
On tracks with long straights, tires cool down — extreme camber loses its benefit.
Run slightly less overall.
If the circuit has more right-handers (like Red Bull Ring),
your left tires do most of the work — fine-tune side-to-side balance.
| Side | Condition | Adjustment |
|---|---|---|
| Left (more load) | Hotter inside | –0.2° camber |
| Right (less load) | Cooler temps | +0.2° camber |
💬 When a track gives you symmetry, camber can be equal.
When it doesn’t — make your setup asymmetric, just like the circuit.
🐎 The Horse Analogy – How Camber Really Works
Imagine your car as a two-horse carriage.
Each wheel is a horse — one inside, one outside.
In a left-hand corner, the left horse tries to go straight,
leaning on the right horse, who must hold the weight and keep the line.
If the right horse is too weak — too little camber — the car drifts outward.
If too strong — too much camber — the car tips inward and loses balance.
In a neutral corner, both share the load.
In an off-camber turn, the inner horse slips;
in a banked turn, the track gives support and harmony.
Perfect camber is when both horses pull together — strength and direction in balance. 🏁
🧠 The Driver’s Awareness – Turning Knowledge Into Advantage
Camber is where setup turns into driving.
Knowing what happens beneath you means driving smarter, not harder.
If you know you have too much camber going into an off-camber corner —
slow down slightly, drive smoother.
Your setup’s “order” was made for other corners — accept the trade.
Later, where the track rises or supports you, you’ll be in advantage —
carry more speed, brake later, and exit faster than neutral setups.
That’s racecraft — using setup like strategy,
planning where your car shines and where it sacrifices.
🏎️ Real Example – Monza: Parabolica and the First Chicane
Parabolica’s slight banking helps camber come alive.
More negative camber lets you lean into the corner, exit faster,
and carry that speed down the main straight.
By the time you hit the first chicane,
you’re side by side — braking later, with more control,
and turning in sharper than cars with flatter setups.
💡 It’s not magic — it’s knowing where your setup breathes.
Setup is the tool.
Awareness is the weapon.
Camber gives you both — if you listen to what the car tells you. 🏁
💬 Final Thoughts
I’m still learning — much of this is theory for me right now.
But every time I go back on track, I see the results more clearly.
The car feels different, more alive, more understandable.
That’s what makes this journey exciting — it’s not just setup, it’s discovery.
If this helped you understand camber a little better,
or made you curious to test your own setup —
please share your thoughts in the comments or pass it on to someone who’s also chasing that perfect balance.
Together we learn, lap after lap. 💙🐉
BlueDragonRacing, #SimRacing, #AssettoCorsaCompetizione, #CamberSetup, #SimRacingTips, #ACCSetup, #TireScience, #RacingEngineering, #GT3, #SimRacerLife, #RaceSetup, #SimRacingCommunity, #Sceleton1_0, #RacingMindset, #LearnAndRace, #RacingJourney
Leave a Reply